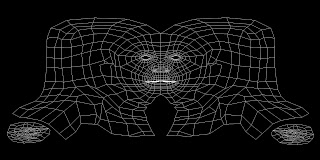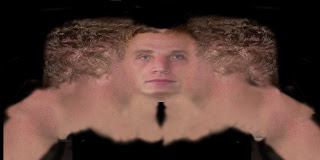
The next step is to start chopping up images of my head, profile and face on. Then placing them in the correct place amoughts the guide of polygons, this creates a flattened and stretched look. This is correct as the three diamentions of the model will stretch and distort a standard image of a face, where as this image and method already knows where stretching will take place and acomodates for it.

Once this map was complete I tested on my model and continuosly made adjustments in photoshop which then appeared in 3ds max and in the final outcome. Allowing me to adjust in photoshop in a even more acurrate way.
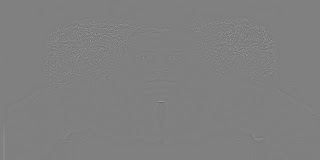
Bellow shows an image which is quite difficult to see, but this is the bump map to my skin. This basicaly is a layer that I add in the material in 3ds max, which dosent transfer colour onto my head, but shadow in these places. This ellusion creates the feel of creases, dimples, spots, and pores etc in the very clever "Bump map" with in the material parameters.
This map is created by an overlay layer of the skin map, then with a "High pass" sharpening tool applied to it, adjusted so that only detail is shown in lighter colours NOT shadding itself.

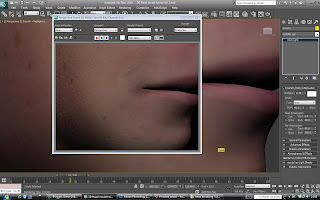
This bump map is not quite enough to create realistic skin, as skin has a uniform pattern of pores almost, this is not transfered with this map so precisly. Using a "Mix" child in the material parremeters I combine this face bump map, with a noise bump map. Reducing the noise conciderably almost to the lowest setting, creating a bumpy ripple effect the size of pores. A you can see bellow.

No comments:
Post a Comment