I really enjoyed modelling the water scene, and I was also very happy with how it came out so I decided to do another. As Essex has over 350 miles of coastline it is a very large part of its attraction. As Essex may mostly be known for Southend beach and others that are not so attractive or well known so I think its fitting to educate viewers of other beautiful coastlines we have here.
I firstly took the ship that I made for our first concept with the spinning globe, and set about changing it for this scene. In essence it is the same structure, but with different materials and shapes in it. As you can see bellow I started out with one side of the ships hull, extruding and shaping it in the "Editable Poly", once I got the first part of the centre line of the hull made I used the "Symmetry" modifier too it. Once at this stage it is easier to see what the finished result will be with the object looking like a whole. I added different masts, and I added guide ropes which I feel give it a realistic touch.
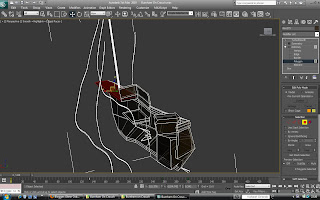
With the material I used a wood-effect that I found on the Internet, one that I though was a good size and worked well on a larger ship. I applied a bump to this also, using the same image map to enhance the wood grain. Bellow shows the ship with the "Symmetry" applied in its completed form.
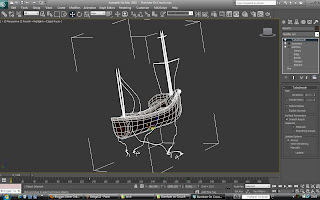
My idea for this scene was too create a panning shot that looked out onto the bay of Burnham, past the pathway, ship, boats, walkway and jetty. I modeled these from individual cubes, using the "Editable Poly" modifier, distorting them and organically modeling them using the "Soft Selection" tools. These allow you to pull, push and move individual "Vertex" "Edges" or "Polygons" whilst creating a falloff boundary which moves surrounding Vertex's or Polygons in a smoothing way.
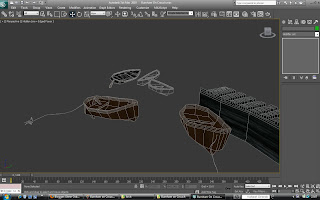
This image bellow shows the jetty and walkway, also some of the small boats that I modeled for the original concept. All the boats are from the same original model, but each one is altered a bit to give variance and diversity so that its not so noticeable that they are effectively the same. For these boats I used some plank and wood materials found in the default 3Ds Max "Maps" folder, they wrapped around the boat very well without having to "UnwrapUVW". I tried to keep the polygons in the model simple and straight forward to aid this part of the materialisation easier.
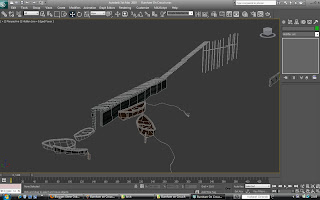
This image of the jetty shows the variance of the planks that I made. I initial made one plank and copied it repeatedly, but I found this was clearly noticeable. So from here I made one plank, and then slightly changed each one rotating it, flipping it, or changing it in the Editable Poly. The wood grain I used worked well especially when the planks where rotated or flipped as the wood-effect differed slightly.
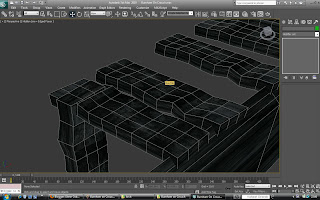
I added some ropes to the small boats, and buoys.
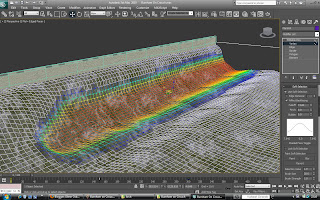
For the next step of modelling this scene I used a large plane with high iterations on it, using the "Soft Selection" I created an organic seabed in the way in which I wanted it to look. I made it meet the pathway that follows along the coast on Burnham, falling away into deeper water. I needed to create a wet mud effect to the sea-bed/shore, I decided to use a bitmap to create this look and the most effective one I found was a "Mold" image in the 3ds Max default files. I pushed the specular level and glossiness of this material up to create a reflective wet look.
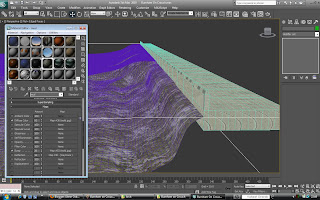
To create the water I used a flat plane which I then just applied a material to to create the ripples. I applied to the diffuse channel an aqua blue colour, and pushed the specular and glossiness up high. In the bump channel I selected a "Noise", from here I chose the "Fractal" options which makes the bump more random and organic. The last setting is to select the "Reflection" map and I chose "Raytraced" which creates reflections of the surroundings though this material. So at this stage I have the properties of water; Colour, reflections and glossiness.
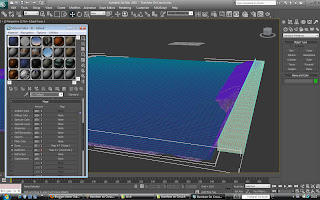
I now put all the modeled parts into the the scene, and arrange the boats in a realistic position in the water, at a listed angle to show buoyancy.
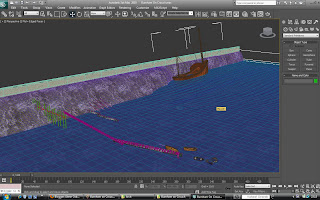 To animate the water, I select the "Set Key" button, and then select the material of the water. I went into the material maps and selected the Bump, there is a option called "Phase" which changes the state and variation of the water. I set a keyframe to 0 with the phase at 0, and then moved to keyframe 300 (as this was the length of my scene) and put the phase to 3.0. This will make the bumpy (ripple) surface of the water move smoothly like small waves, I did some trial and error to find the correct ratio of phase to keyframes for the water to move at a realistic speed.
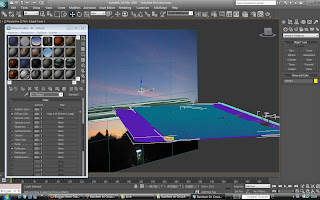
I decided on the angle of the camera and placed it there by pressing Ctrl-C, where I can fine tune it with the camera movement tools. When I had decided on the angle of the shot I placed a plane in the position of the horizon, and applied a material to it of a Bitmap image of sky. For this material I made it 100% self illumination, which makes the light and shadows not effect it. This image will be reflected by the "Raytrace" on the water, which I hope will give the scene very nice ambiance.
I used an "Omni" light source in this scene for the main light source, and only one other towards the front. The reason for this is that its designed to be a dusk silohette scene, so I do not need alot of compensation light for the shadows. I turned the main Omni down low, turned on "Raytraced Shadows" which casts detailed shadows determined by the objects in the scene. to create the glow that you can see in the final render I added a "Lens effect" "Glow" onto the main Omni. This is a tool that makes the light source itself glow like the sun, or a light bulb, this needs a bit of tweaking in the scene to get it accurate and how I wanted it. I adjusted the size of the glow, its intensity, the colour of the glow and its colour fall-off. I finally placed the Omni low down on the horizon, which also creates nice dark long shadows and silhouettes.
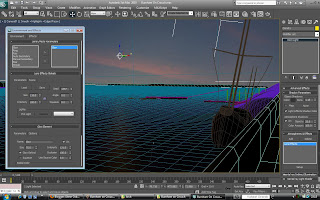
I made the boats in the scene, to create more realism. I did not move them very quickly or over a great distance, as the scene is very calm so I wanted to match that. I made the ship rock back and forth by linking all its parts together firstly, and then set keyframes and moved the ship slightly and then moved it some more and applied more keyframes. The program links the motion from keyframe to keyframe making a seamless movement, I repeated this so that the boat rocked back and forth.
With the camera I selected it, and used keyframes and moved it around the scene, when this is played the movement in the camera is smooth from one keyframe to another. I wanted a slow zoom into the water and small boats on this scene, to create variance from the others that I have planned.
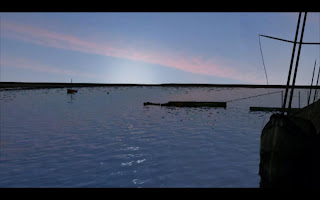
Bellow shows a still render of the final shot.
No comments:
Post a Comment