As I started modeling these for our last concept part of it was already there for me to use that I modeled before.
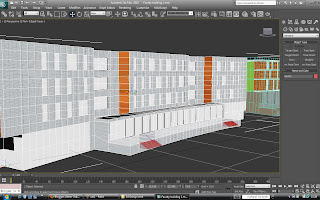
I used a rectangle block and made it have a humber number of iterations, so I had a basse to start with for modeling the windows and indentations on the buildings. This took some time to get the buildings looking accurate, I used the same technique for the windows I used for the car by using the bevel tool to create the frame.
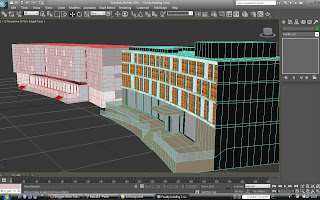
I did spend a long time selecting the many different polygons and giving then certain Material ID's for the complex materialising.
Windows
Paneling
Paint
Frames
Glass
Roof
Wood
Bricks
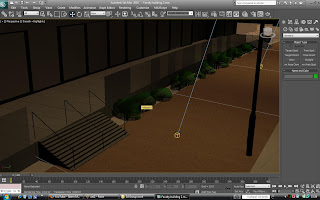
I modeld all of the landpost aswell as I thought It would be great to have them light up the scene in a dusky scene.. I made the lamps have a clear lens and placed a directional light into it and placed the target on the path. To make the lights soon like they are giving off light into the air in the eveing, I added a volume light. This creates a very subtle fog/smoke in the beam of the light, it helps to create great atmoshperes and I am very happy with it in this scene.
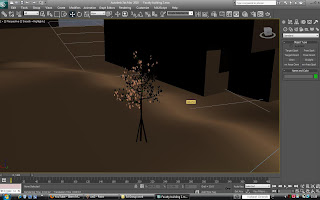
To add all the little touches I even made the little sapling tree that is outside the Marconi building, I converted it into an editable poly and made the suporting legs for it inside the shape.
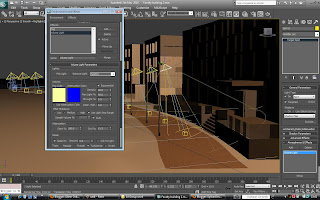
Here shows me adjusting the settings for the volume light.
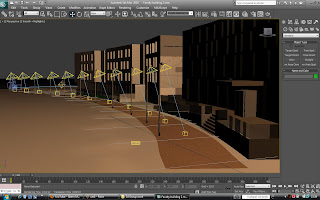
I used a soft selection on the ground to create an organic look to the mound and surronding grass.
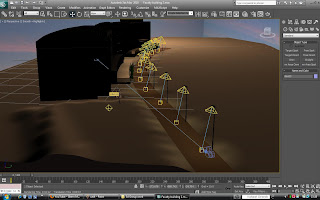
I then lastly animated the camera going down the path of the uni, I did this by moveing the keyframes along and moving the camera and setting more keyframes to alow the smooth transition from point point. I also used a main omni light in the back ground to create realistic world shadows on all the objects.
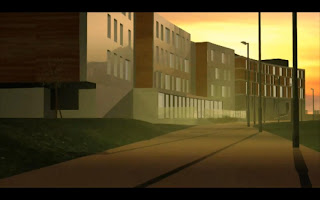
I do really like this render, alot of atmosphere, and I hope I did the university proud by modeling its buildings well enough.
No comments:
Post a Comment